New Zealand began the day well, removing Adam Voges in the third over Getty Images
Shaun Marsh was in at No. 5 on his latest comeback Getty Images
Loading ...
A punch towards mid-off was brilliantly fielded by Brendon McCullum, who threw at the stumps without getting up... Getty Images
...to run out Marsh by several yards after he hesitated mid-pitch Cricket Australia/Getty Images
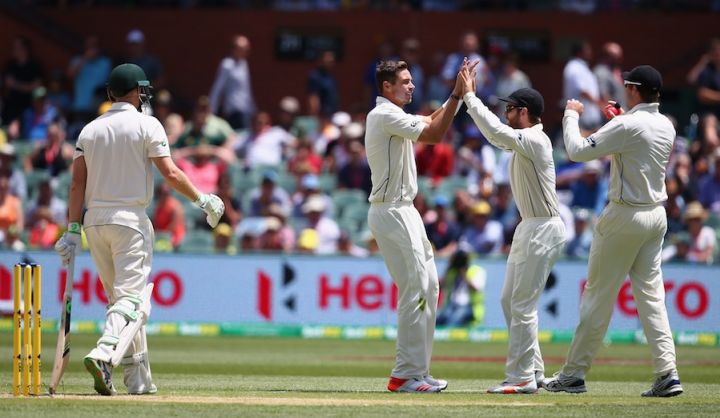
Doug Bracewell then had Mitchell Marsh caught behind as Australia slipped to 80 for 5 Getty Images
Steven Smith helped settle Australia but his half-century was hard work... Getty Images
...and Mark Craig had him caught behind as the tea interval approached Getty Images
BJ Watling took an excellent catch after Smith had come down the pitch Getty Images
Smith left the field having made 53 Cricket Australia/Getty Images
Craig took his second wicket in the over when Peter Siddle was taken at short leg Getty Images
Josh Hazlewood became Mitchell Santner's maiden Test wicket, Australia 116 for 8 at tea Cricket Australia/Getty Images
There was controversy after the break as Nathan Lyon survived a review for a top edge attempting to sweep Santner Cricket Australia/Getty Images
Lyon appeared to think he would be given out after Hot Spot showed a mark on the bat... Cricket Australia/Getty Images
...but New Zealand were left unimpressed when Nigel Llong decided not to overturn the decision, saying the evidence was inconclusive Cricket Australia/Getty Images
Brendon McCullum queried the decision with umpire S Ravi, to no avail Getty Images
Peter Nevill was batting tidily, meanwhile Getty Images
Lyon helped to add 74 for the ninth wicket, another 72 after he was given not out Getty Images
Nevill recorded his second Test half-century Getty Images
Trent Boult finally removed Lyon for a punchy 34 Getty Images
Despite an injured foot, Mitchell Starc came out to bat at No. 11 and clattered five boundaries in 24 off 15 balls, helping Australia to 224 and a lead of 22 Getty Images
After the dinner interval, Hazlewood continued a probing spell with the new pink ball Getty Images
He removed Martin Guptill and Tom Latham to leave New Zealand 32 for 2 Getty Images
Mitchell Marsh had to shoulder extra overs due to Starc's injury and he got the key wicket of Kane Williamson Getty Images
Marsh then had McCullum lbw... Getty Images
...and Hazlewood picked up Ross Taylor as New Zealand struggled to 116 for 5 at the close, leading by 94 Getty Images