Sydney Sixers Cricket Team Pictures
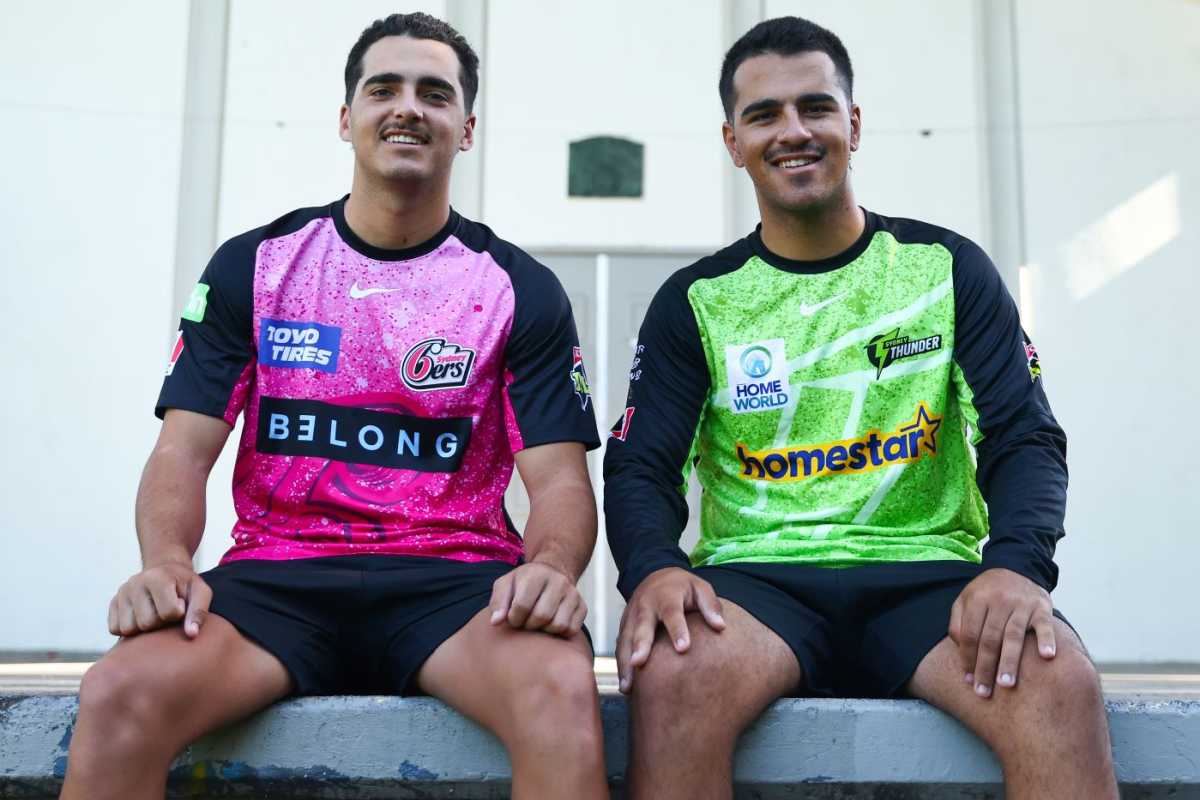
Joel (left) and Ollie Davies (right) are set to be BBL teammates next season at Sydney Sixers••Getty Images

Jhye Richardson celebrates the wicket of Jack Edwards••Getty Images and Cricket Australia
Aaron Hardie and Perth Scorchers celebrate the wicket of Steven Smith via DRS••Getty Images and Cricket Australia
Joel Davies celebrates his return catch to remove Matthew Wade••Cricket Australia via Getty Images
Mitchell Starc sent back Mitchell Owen••Getty Images
Steven Smith missed a switch hit off Rishad Hossain••Getty Images
The pre-match fireworks left a little bit of smoke••Getty Images
Ben Dwarshuis claimed the huge wicket of Finn Allen••Getty Images
Sam Curran scored a crucial unbeaten half-century••Getty Images
Steven Smith got off to a positive start••Getty Images
Coach Greg Shipperd and Sydney Sixers players look on at the trophy presentation••Getty Images
Moises Henriques struggled at the end of a tough season with the bat••Getty Images
Will Perth Scorchers or Sydney Sixers lift the BBL trophy?••Getty Images and Cricket Australia
Sean Abbott struck twice in the middle overs••Cricket Australia/Getty Images
Joel Davies played a valuable hand••Getty Images
Steven Smith was soon up and running••Getty Images
Steven Smith hit his first ball for six••Getty Images
Mitchell Starc struck in his first over••Getty Images
Steven Smith plays a rolling scoop••Cricket Australia via Getty Images
Mitchell Starc removed Jack Wildermuth in the first over••Getty Images
Team Fan Ratings
Top Run Scorers
In last one year299
Innings: 6Average: 59.80
292
Innings: 12Average: 24.33
202
Innings: 11Average: 22.44
Top Wicket Takers
In last one year19
Innings: 12Average: 18.47
16
Innings: 11Average: 18.81
14
Innings: 11Average: 13.35