Sydney Thunder Cricket Team Pictures
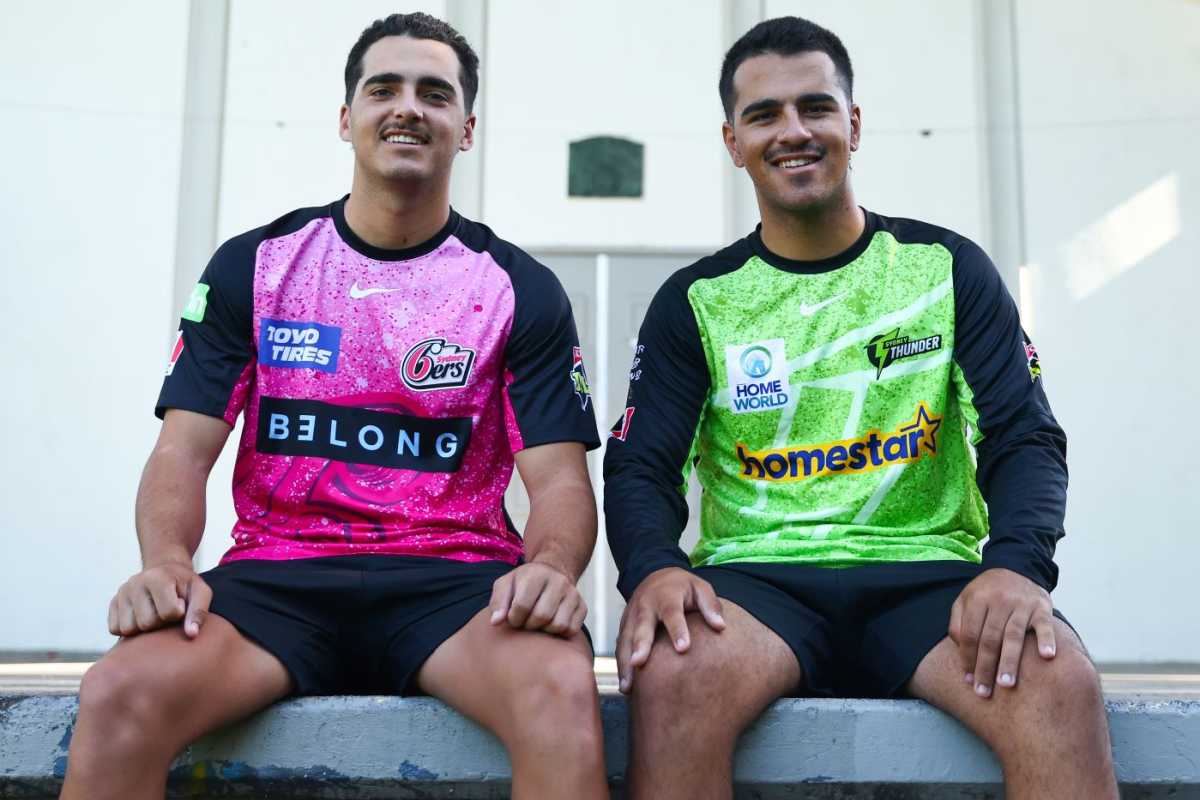
Joel (left) and Ollie Davies (right) are set to be BBL teammates next season at Sydney Sixers••Getty Images

Nic Maddinson smashed an unbeaten 30 off 17 balls••Getty Images
Rain briefly interrupted Thunder's chase••Getty Images
David Warner scored a quick half-century••Getty Images
David Willey celebrates his first wicket for Sydney Thunder••Getty Images
David Warner scored a brisk fifty••Getty Images
Daniel Sams dismissed Josh Inglis with the short ball••Getty Images
Matthew Gilkes celebrates his fifty••Getty Images
Cameron Bancroft led Sydney Thunder's recovery••Getty Images
Ollie Davies pulls through the legside••Getty Images
David Warner struck his second century of the season••Getty Images
Chris Green's late onslaught transformed the contest••Getty Images
David Warner slammed a 56-ball 82••Getty Images
Matthew Gilkes scored a quick 33-ball 43••Getty Images
David Warner slammed his second BBL hundred••Getty Images
David Warner was quick to get off the blocks••Getty Images
Shadab Khan took a four-for••Getty Images
Reece Topley ended Daniel Hughes' positive start••Getty Images
Sam Konstas takes on the short ball••Getty Images
Jason Sangha square drives over the offside••Getty Images
Team Fan Ratings
Top Run Scorers
In last one year433
Innings: 8Average: 86.60
232
Innings: 10Average: 23.20
204
Innings: 10Average: 20.40
Top Wicket Takers
In last one year12
Innings: 9Average: 26.16
8
Innings: 7Average: 29.12
7
Innings: 5Average: 17.71