Australia vs India, 1st Final at Melbourne, Feb 06 2004 - Cricket Photos
Hayden in punishing mood••Mark Dadswell/Getty Images

The crowd at the MCG perform a Mexican wave as Australia take a 1-0 lead••Mark Dadswell/Getty Images
Ricky Ponting is given a rousing applause as he leaves the field after a breezy 88••William West/AFP
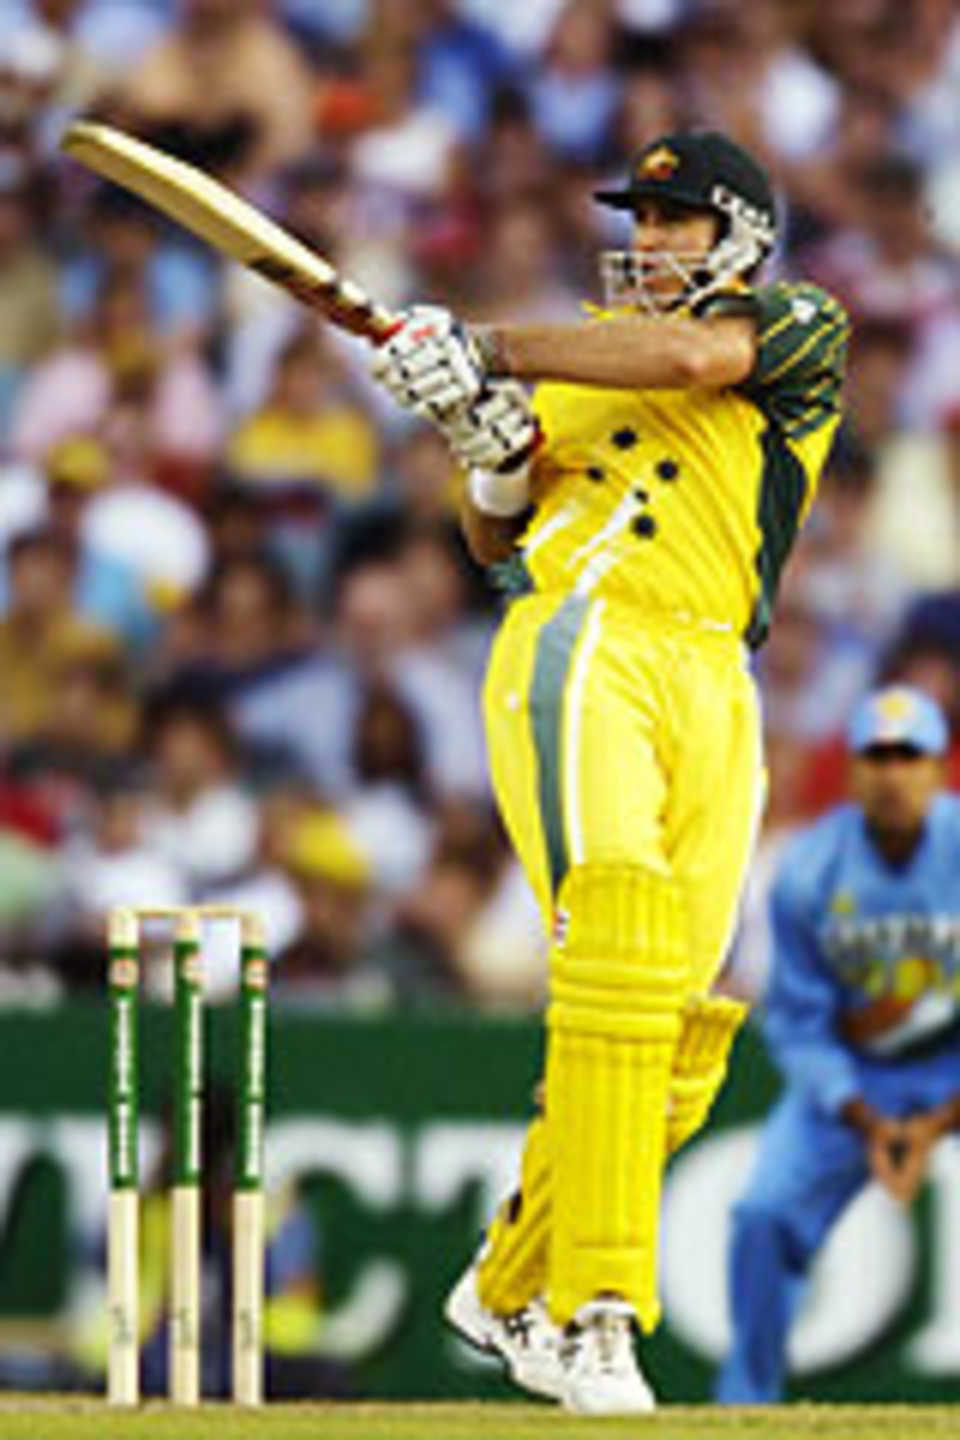
Ricky Ponting shows no respite as he toys with the bowlers••Hamish Blair/Getty Images
Ricky Ponting then launches an attack by carting the bowlers••Hamish Blair/Getty Images
Lakshmipathy Balaji is hit around the park before he comes back well to dismiss Adam Gilchrist••Mark Dadswell/Getty Images
Adam Gilchrist executes a ferocious cut as Australia gallop••Mark Dadswell/Getty Images
Ian Harvey misses a simple run-out as Hemang Badani makes his ground••Mark Dadswell/Getty Images
Hemang Badani joins Ajit Agarkar as they script a rescue act••Hamish Blair/Getty Images
Brett Lee leaps high in the air after dismissing Yuvraj Singh••Mark Dadswell/Getty Images
Gillespie and Australia gear up for one final push••Mark Cadswell/Getty Images
Damien Martyn applies the finishing touches as Australia romp home••Hamish Blair/Getty Images
Lakshmipathy Balaji takes a splendid return catch to dismiss Matthew Hayden••Mark Dadswell/Getty Images
Anil Kumble expresses his anguish as Australia cruise towards victory••William West/AFP
Ricky Ponting gets into the groove with a few well-timed strokes••Hamish Blair/Getty Images
Matthew Hayden plays a few aggressive shots as the run-rate soars••Mark Dadswell/Getty Images
Hemang Badani acknowledges the cheers after reaching his half-century••William West/AFP
Ajit Agarkar raises his bat after making a quickfire half-century••Hamish Blair/Getty Images
Ajit Agarkar leads the Indian fightback with a few glorious shots••Hamish Blair/Getty Images
The Australian fielding is razor-sharp as Matthew Hayden pulls off an athletic stop••Hamish Blair/Getty Images
Instant answers to T20 questions