New Zealand tour of Australia 2011/12 - Photos

David Warner celebrates his century exuberantly, Australia v New Zealand, 2nd Test, Hobart, 4th day, December 12 2011
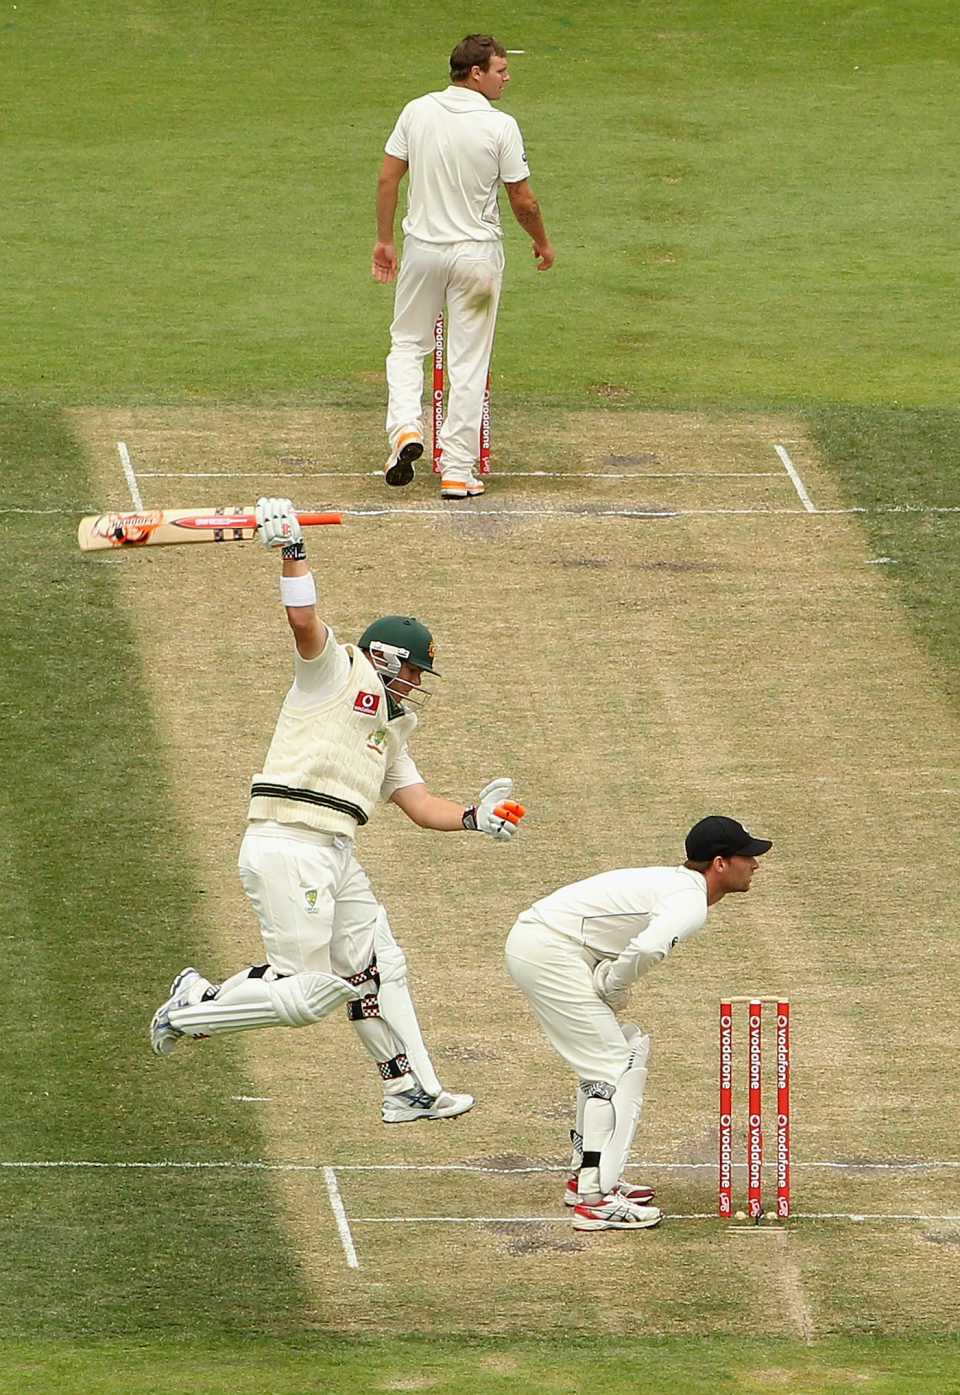
David Warner celebrates his century exuberantly••Getty Images
Ricky Ponting walks off after being dismssed , Australia v New Zealand, second Test, day four, Hobart, December 12, 2011
Ricky Ponting walks off after being dismssed ••William West/AFP
David Warner plays a lofted drive, Australia v New Zealand, 2nd Test, Hobart, 4th day, December 12 2011
David Warner plays a lofted drive ••Getty Images
Michael Clarke at the presentation after Australia's loss, Australia v New Zealand, 2nd Test, Hobart, 4th day, December 12 2011
Michael Clarke at the presentation after Australia's loss ••Getty Images
David Warner leaps for joy after reaching his century, Australia v New Zealand, 2nd Test, Hobart, 4th day, December 12 2011
David Warner leaps for joy after reaching his century ••Getty Images
New Zealand await the verdict on a referral, Australia v New Zealand, 2nd Test, Hobart, 4th day, December 12 2011
New Zealand await the verdict on a referral••Getty Images
Tim Southee roars after New Zealand pick up the final wicket, Australia v New Zealand, 2nd Test, Hobart, 4th day, December 12 2011
Tim Southee roars after New Zealand pick up the final wicket••Getty Images
New Zealand celebrate their first Test win in Australia in 26 years, Australia v New Zealand, 2nd Test, Hobart, 4th day, December 12 2011
New Zealand celebrate their first Test win in Australia in 26 years••AFP
David Warner consoles Nathan Lyon after Australia slip to a seven-run loss, Australia v New Zealand, 2nd Test, Hobart, 4th day, December 12 2011
David Warner consoles Nathan Lyon after Australia slip to a seven-run loss••AFP
David Warner kisses the Australia logo after getting to a hundred, Australia v New Zealand, 2nd Test, Hobart, 4th day, December 12 2011
David Warner kisses the Australia logo after getting to a hundred••Associated Press
Doug Bracewell celebrates James Pattinson's wicket, Australia v New Zealand, 2nd Test, Hobart, 4th day, December 12 2011
Doug Bracewell celebrates James Pattinson's wicket••Quinn Rooney/Getty Images
David Warner drives, Australia v New Zealand, 2nd Test, Hobart, 4th day, December 12 2011
David Warner drives••Getty Images
Australia retained the Trans-Tasman Trophy despite losing the second Test, Australia v New Zealand, 2nd Test, Hobart, 4th day, December 12 2011
Australia retained the Trans-Tasman Trophy despite losing the second Test••AFP
James Pattinson reviews an lbw decision even as New Zealand celebrate, Australia v New Zealand, 2nd Test, Hobart, 4th day, December 12 2011
James Pattinson reviews an lbw decision even as New Zealand celebrate ••Getty Images
Doug Bracewell walks off the field after New Zealand's victory, Australia v New Zealand, 2nd Test, Hobart, 4th day, December 12 2011
Doug Bracewell walks off the field after New Zealand's victory ••AFP
New Zealand watch as a decision is reviewed, Australia v New Zealand, 2nd Test, Hobart, 4th day, December 12 2011
New Zealand watch as a decision is reviewed••AFP
Doug Bracewell is pumped up after a wicket, Australia v New Zealand, 2nd Test, Hobart, 4th day, December 12 2011
Doug Bracewell is pumped up after a wicket••AFP
Doug Bracewell delivers the ball, Australia v New Zealand, 2nd Test, Hobart, 4th day, December 12 2011
Doug Bracewell delivers the ball••AFP
Tim Southee is thrilled after dismissing Brad Haddin, Australia v New Zealand, 2nd Test, Hobart, 4th day, December 12 2011
Tim Southee is thrilled after dismissing Brad Haddin••Getty Images
David Warner celebrates his maiden Test ton, Australia v New Zealand, 2nd Test, Hobart, 4th day, December 12 2011
David Warner celebrates his maiden Test ton••Getty Images
AskESPNcricinfo Logo
Instant answers to T20 questions